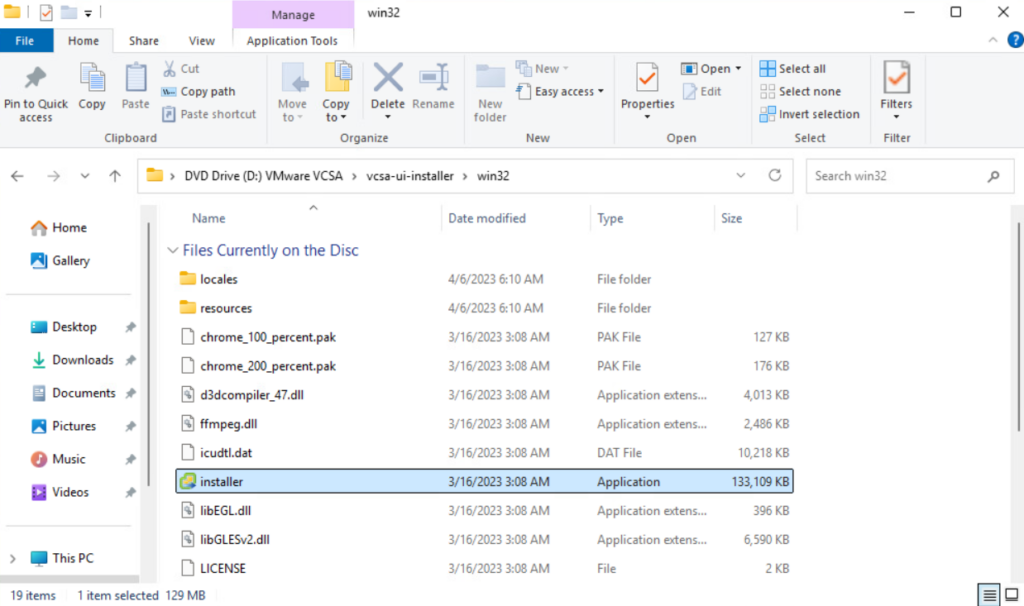
Mount the VCSA ISO file, then browse into the following folder :
D:\vcsa-ui-installer\win32
Then execute the installer.exe application
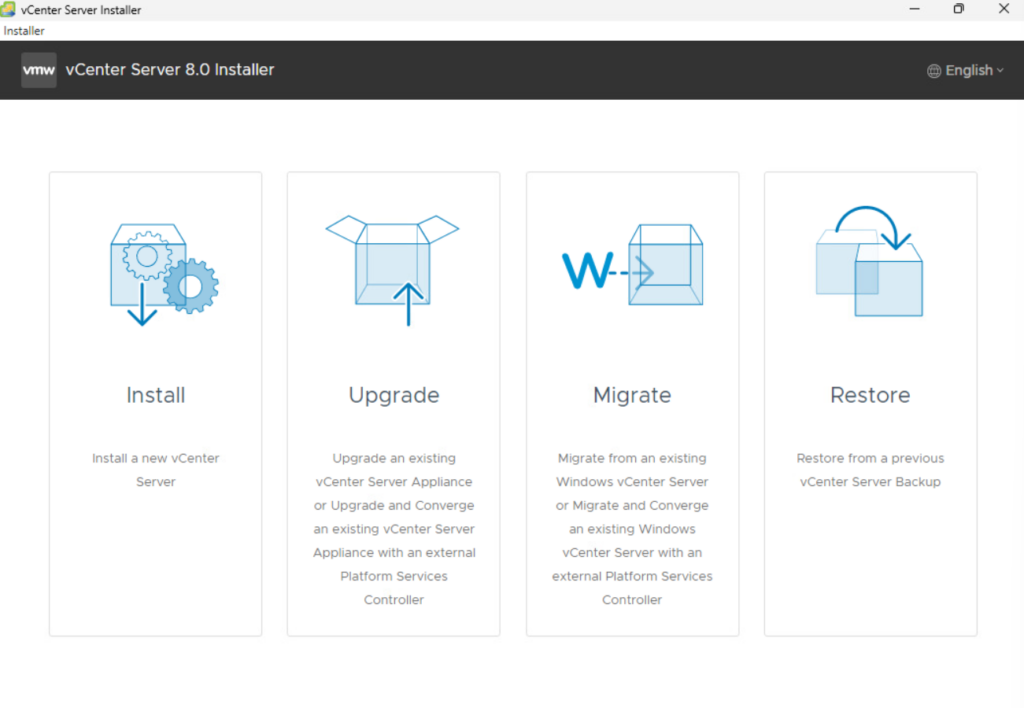
Click on Upgrade
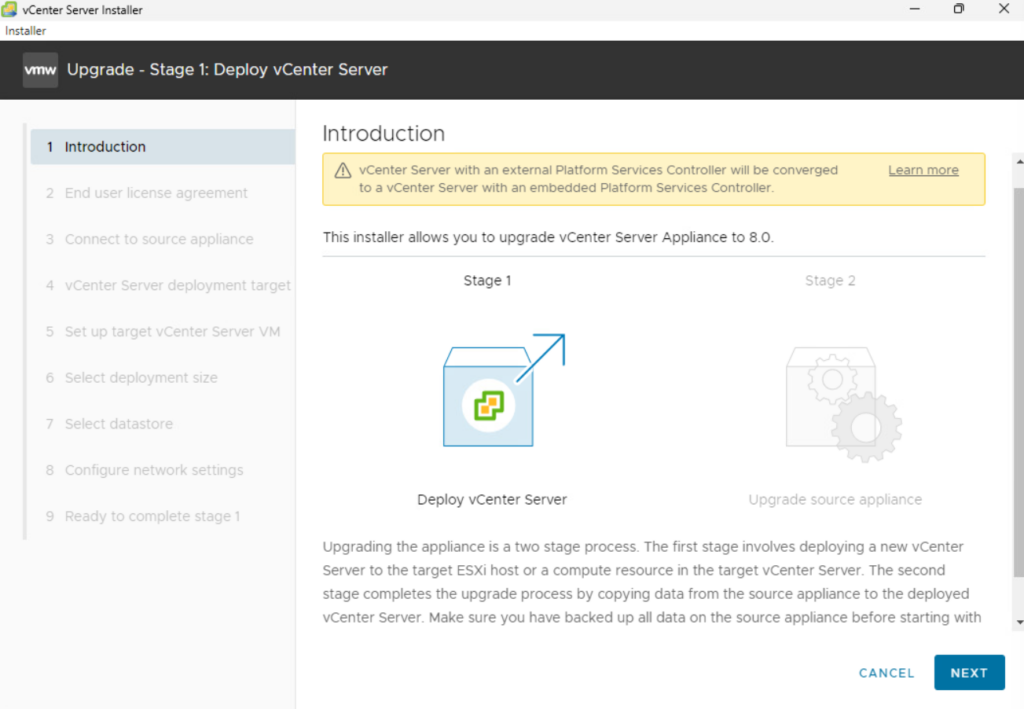
Click Next
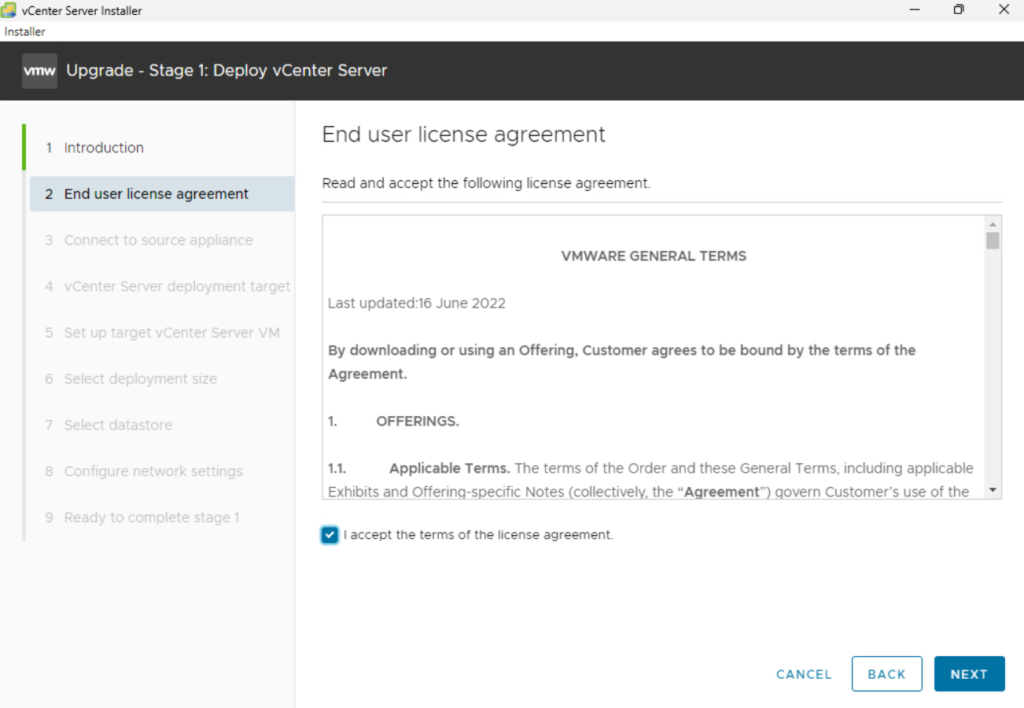
Accept the EUL agreement and click Next
Input the information to connect to the source appliance
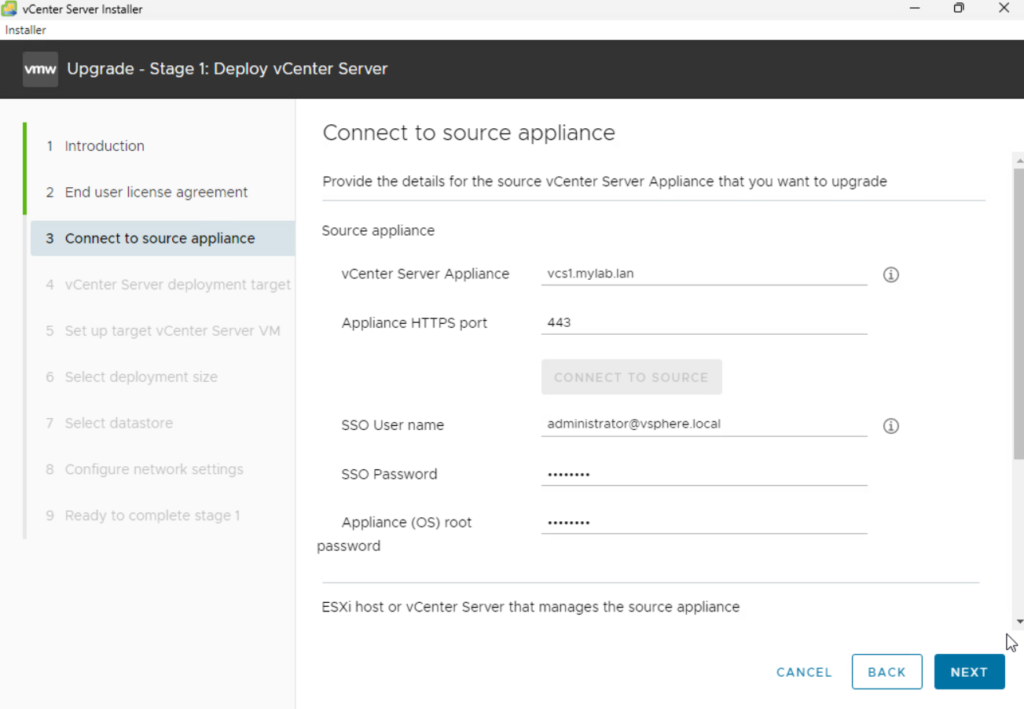
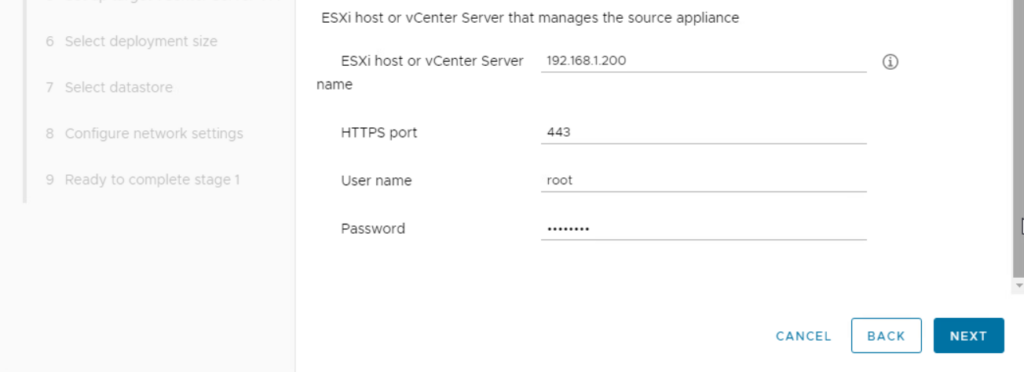
and the information of the host or vCenter that manages that VM
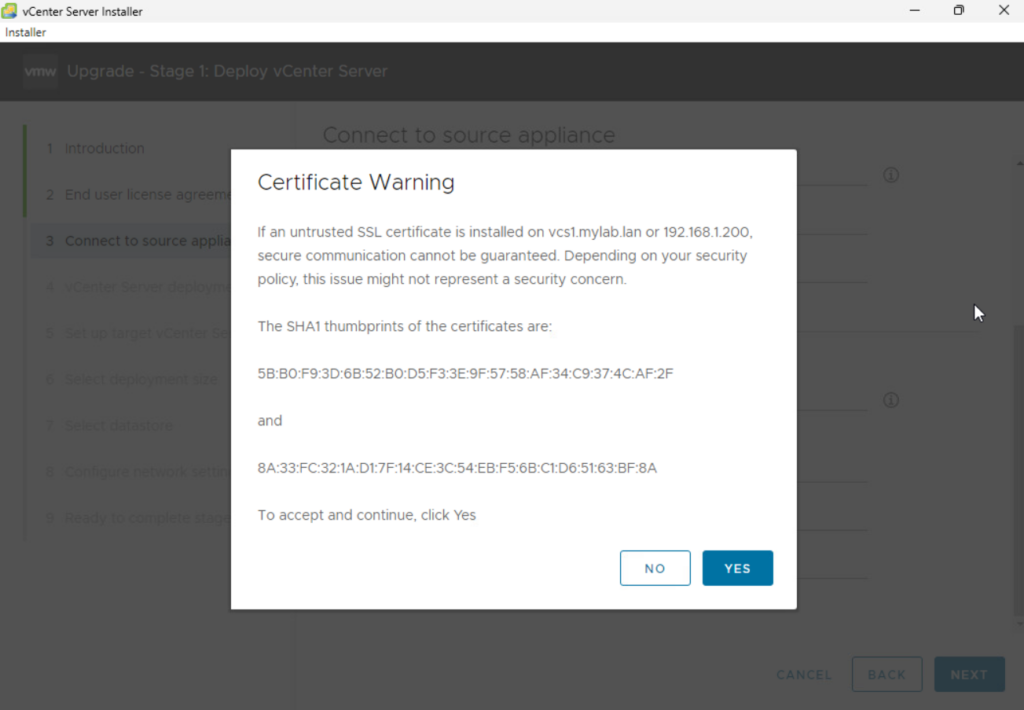
Accept the self-signed SSL certificate to continue
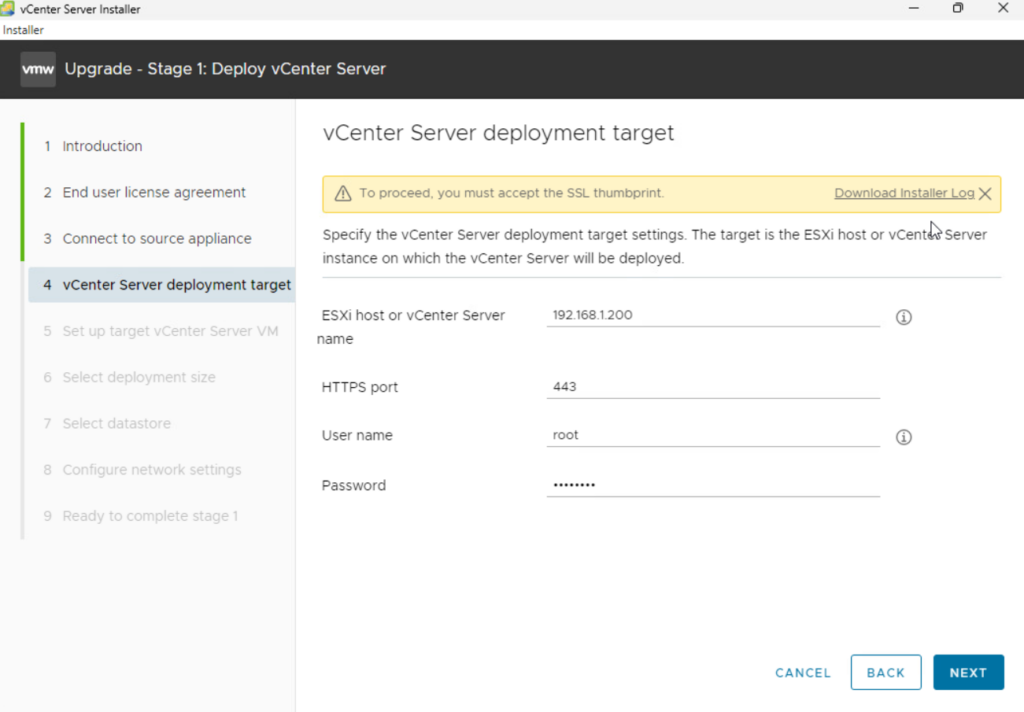
Input the information of the ESXi or vCenter target to deploy the new VCSA virtual machine
Accept the self-signed SSL certificate to continue

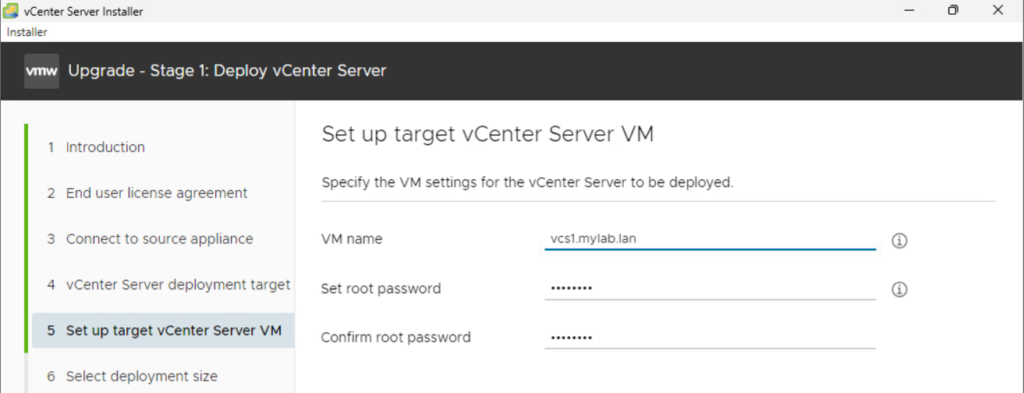
Give the name of the target VM and its root credentials
Here I have given the FQDN name as VM name, but you can also do the opposite :
- rename the source vCenter VM with .old at the end
- give it the original name of the source vCenter VM so it can take the same
- but it is not important because you can always rename it afterwards
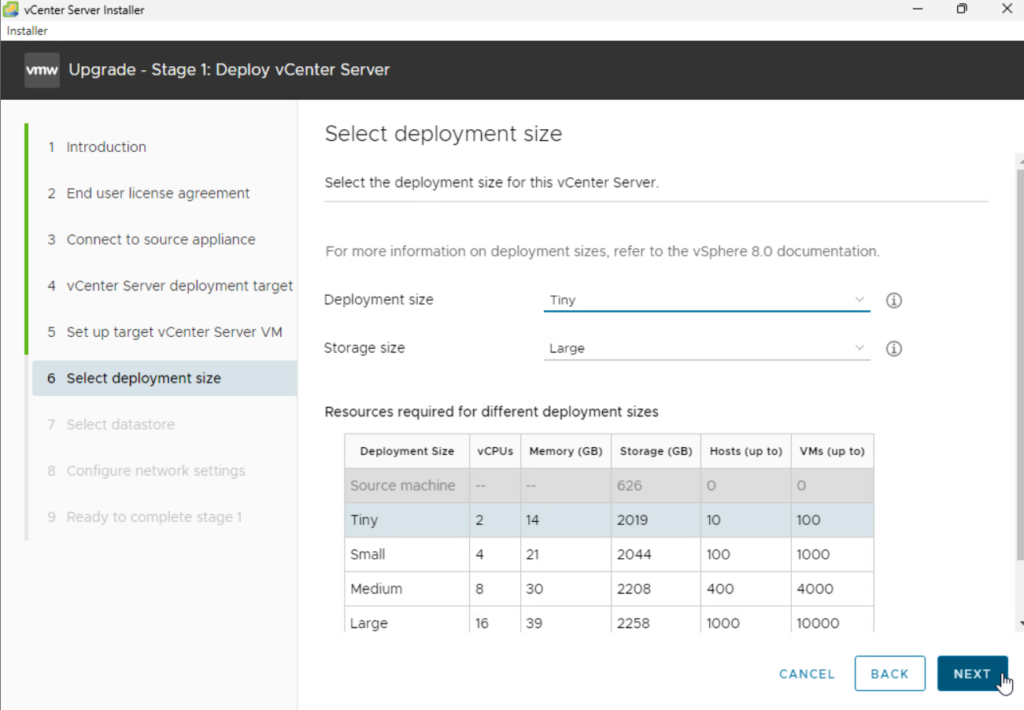
Select the deployment size for vCenter
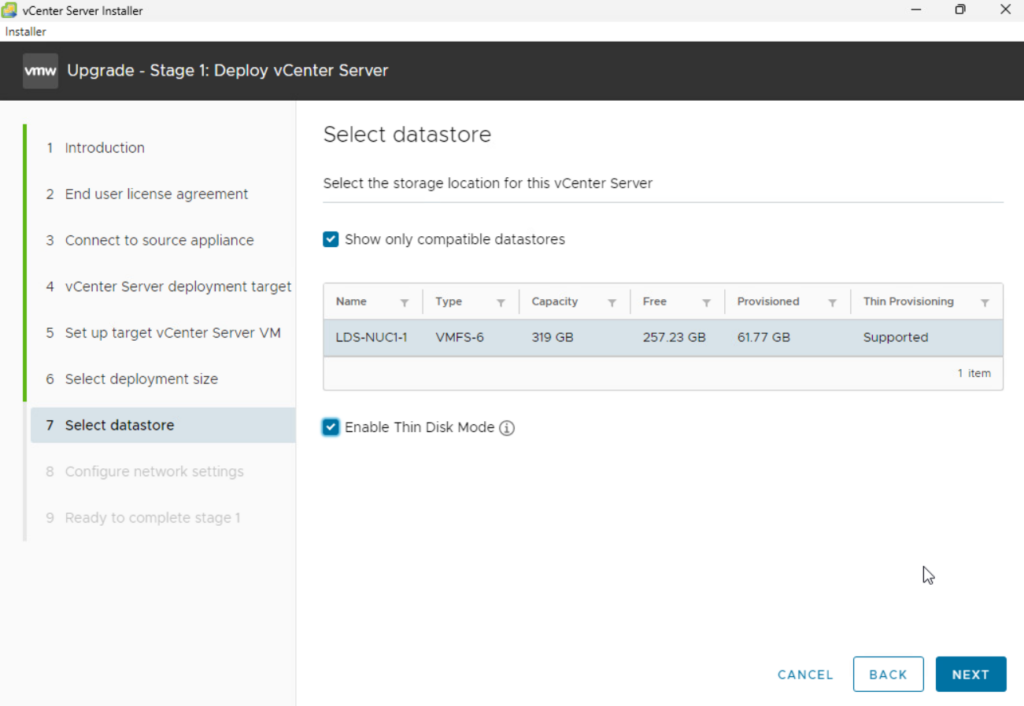
Select the datastore to store the VM
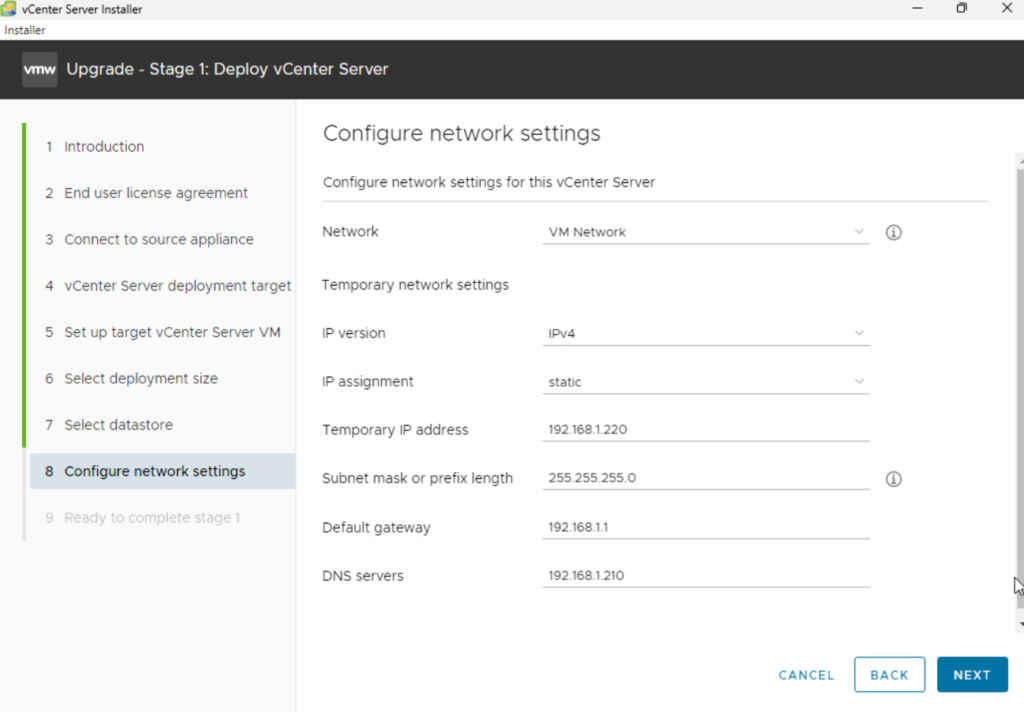
Configure the network settings
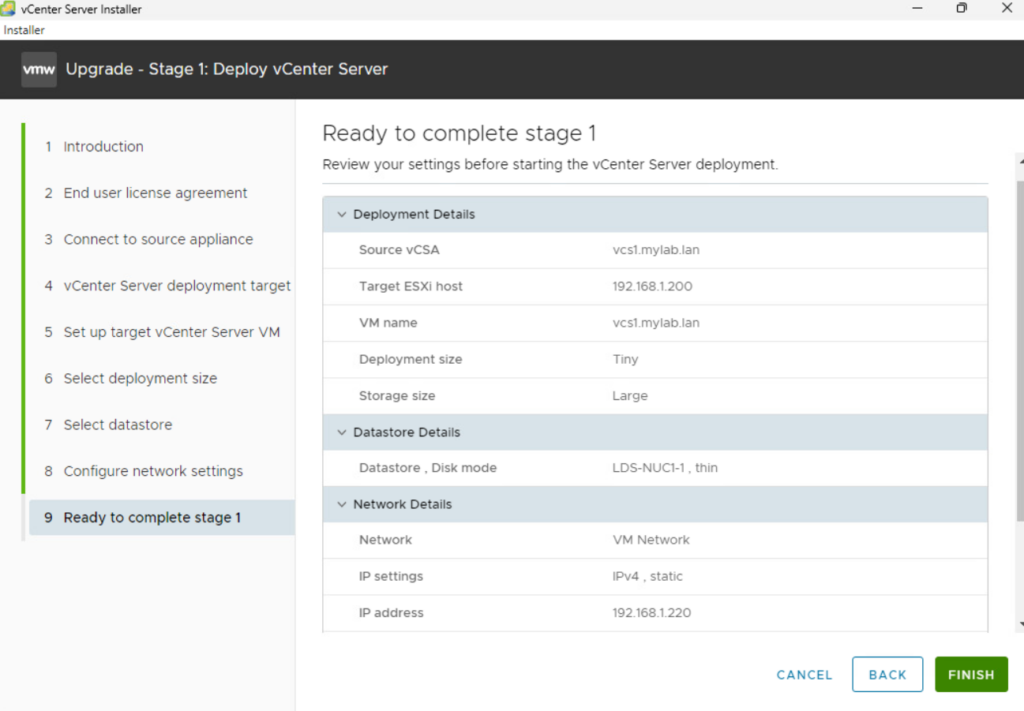
Review and click Finish to deploy
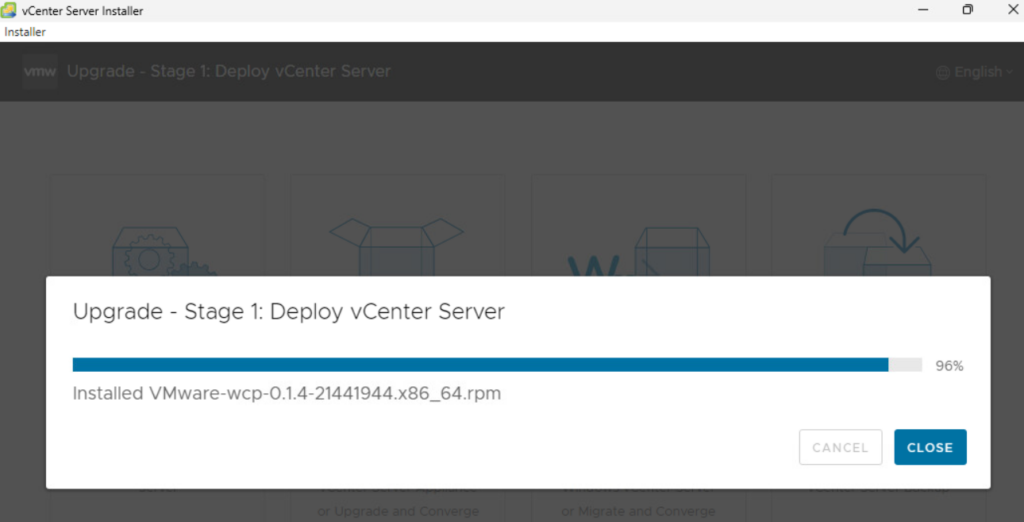
Just wait until the Stage 1 is completed
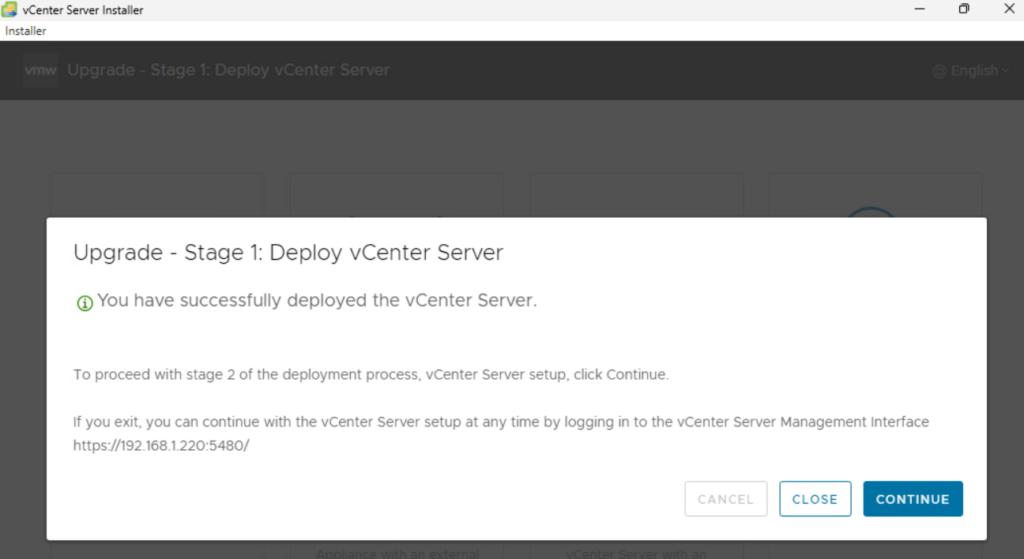
Stage 1 is completed, now click on continue to launch Stage 2
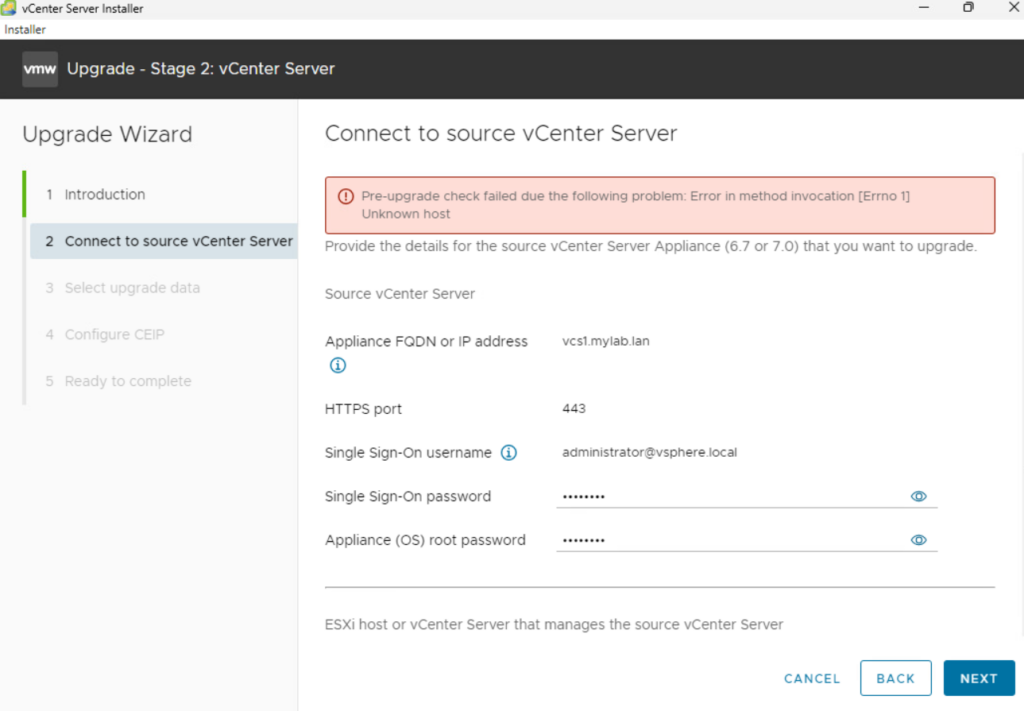
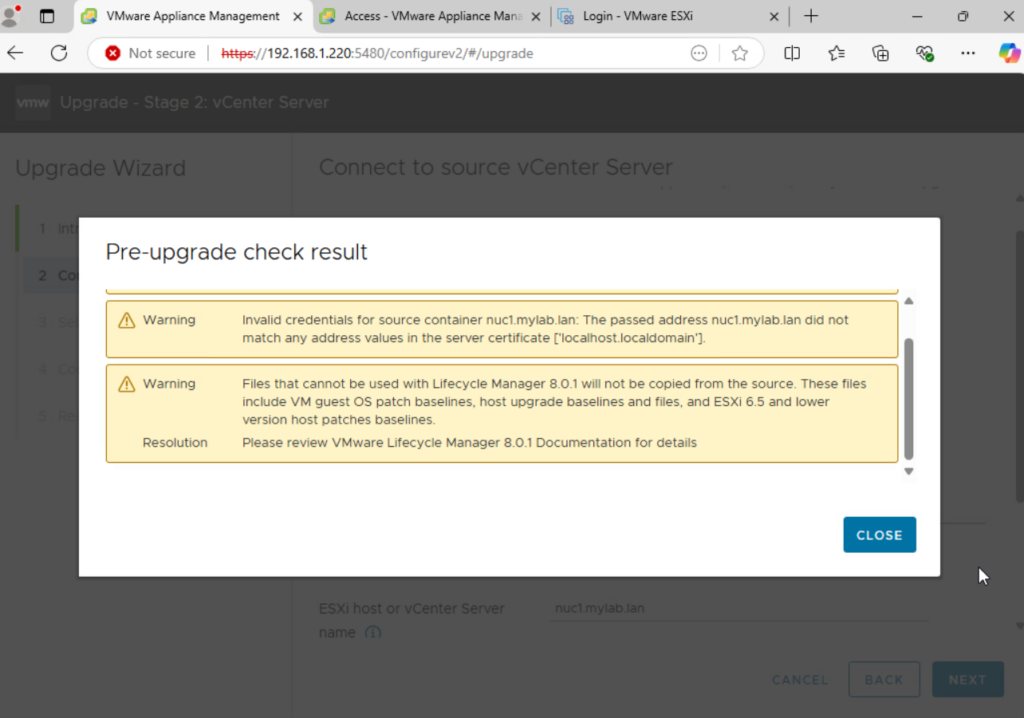
If you get this message it is because it expects to have an FQDN instead of an IP, in my case, it was the information of the ESXi host managing the vCenter Server

Check the Pre-upgrade result and resolve as many issue as possible, the warnings can be ignored but you still should give some attention to it
Select the data you want to migrate and upgrade
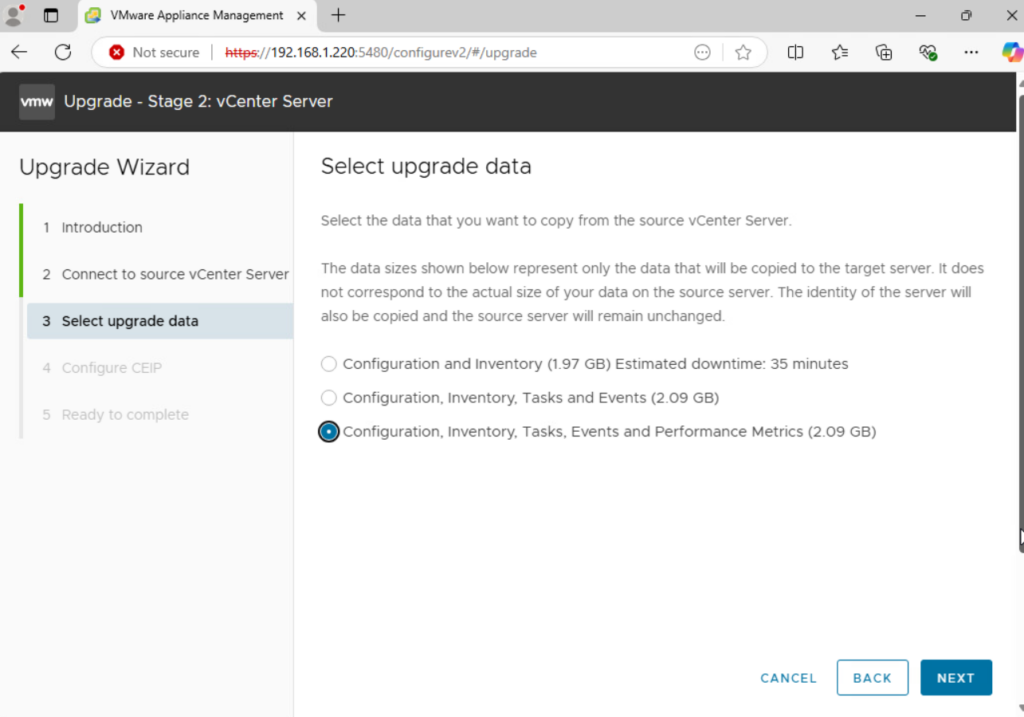
Click on Next
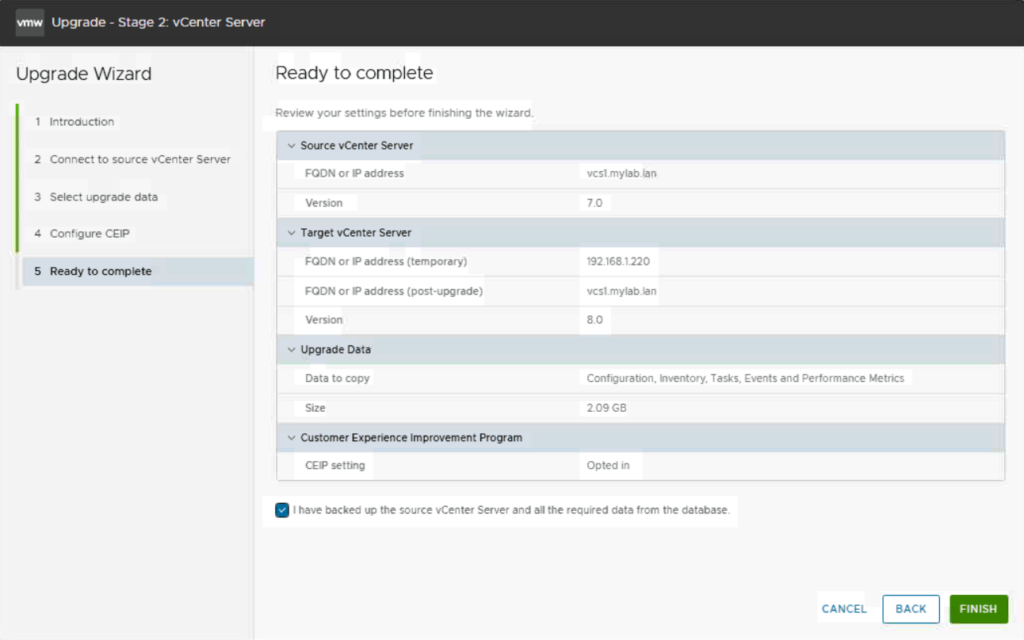
Make sure you have a backup for the source vCenter before upgrade, click on Finish when you are ready
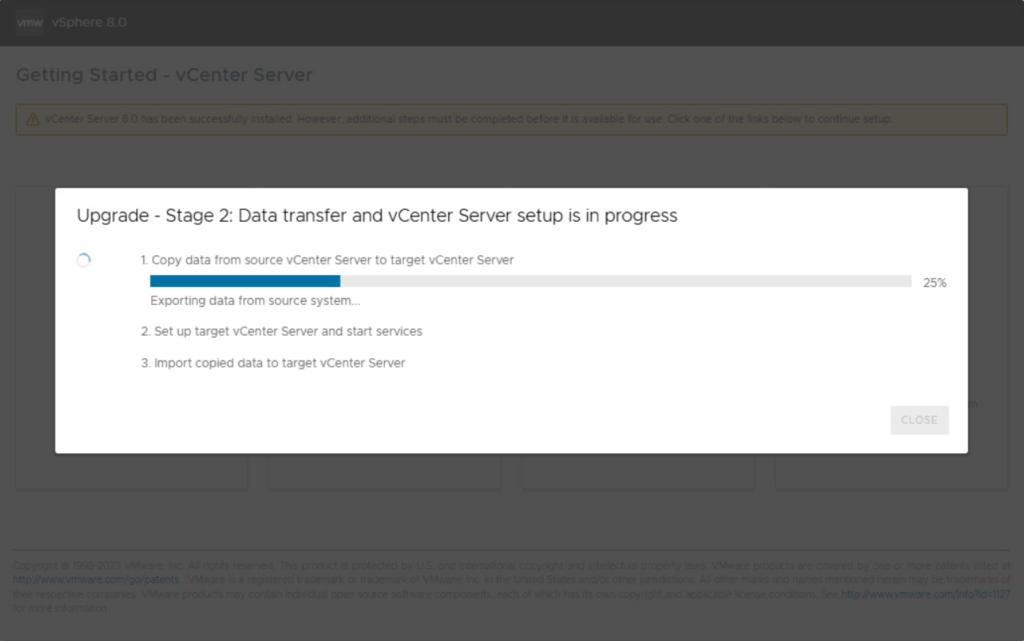
Upgrade is in progress, let it run till the end
Completed, you can now connect to the vCenter Server at version 8.x
